
Xserve + OS X Yosemite 10.10.5
This year I aquired a 2006 Xserve for relatively cheap. Unfortunately I hadn't realized that in order to bring it up to date in terms of putting a later version of OS X on it I would need a new graphics card that was supported by the later versions of OS X.
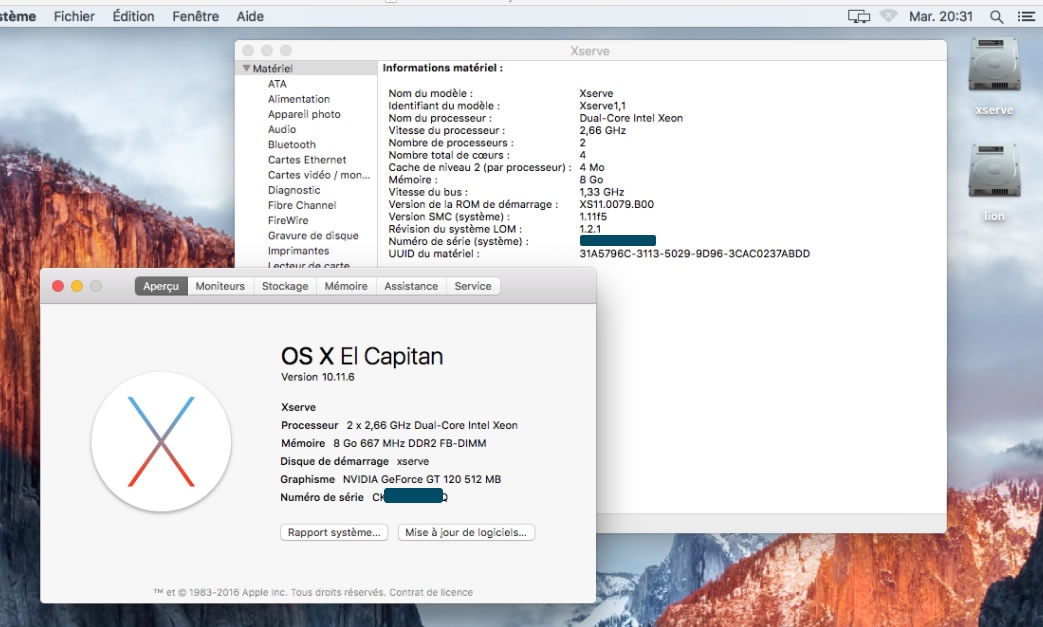
Just this last week I also managed to get my hands on a 2009 MacPro which came with two NVIDIA GT 120 video cards. I pulled one and placed it into the Xserve. After a few hours of hacking apart the OS X installer, I finally had OS X 10.10.5 running on it!
Requirements- 8GB+ USB Flash Drive
- Copy of OS X Yosemite installer app
- 2GBs of RAM on destination Mac
- Flat Package Editor
- Pacifist
Creating Modified OS X Yosemite Installer
- Open Disk Utility and format your flash key. Ensure to set the Scheme as GUID and format as OS X Extended (Journaled) / HFS+.
- Download the OS X Yosemite installer from the App Store.
- Once the installer has finished downloading it, I recommend making a copy of it. I placed my copy into
~/Downloads/tmp/. Right click on the copy you've made, and select, Show Package Contents. Go to/Contents/Resources/SharedSupportand open the.dmgfile. - You will now need to show hidden files which can easily be done with a Terminal command:
defaults write com.apple.Finder AppleShowAllFiles YES && killall -9 Finder - Now navigate to the
.dmgfile you've just mounted. Locate theBaseSystem.dmgfile. This part may be a bit tricky depending on the system you're working on. I did this on OS X El Capitan where the Disk Utility app got quite the overhaul. Previous to this you were able to just drag an image file into the sidebar however in El Capitan it seems to be a bit of a different process. I first went to Images >> Scan Image for Restore and selected theBaseSystem.dmg. Once the scanning is done, then click on the partion (not the root device) and go again to Image from the menu bar but this time choose the Restore option. Select theBaseSystem.dmgfile. I believe it took about 5-10 minutes to complete. - Once the restore is done, go back over the .
dmgyou originally mounted and and copy the Packages folder. Paste this folder into your flash key to the directory,/System/Installation/. This will take a bit longer as it's about 5.5GBs in size. It took about 30-45 minutes when I did this. - You will now need to start editing some of the installer files. It's very important these files do not get corrupted or edited incorrectly. You must be very careful to ensure you're replacing the right things else your installer won't work. You may want to create copies of the files you're editing before you do so, just in case something goes wrong.
- First you'll need to obtain your Mac's Board-ID value. If you have OS X already running on the Mac you're wanting to upgrade you should be able to use an app, IORegistryExplorer.app, which can provide this ID to you. If you don't, there's a fantastic list of IDs here. Once you have your ID, go to your flash key and open the following file in a text editor (I recommend Atom),
/System/Installation/Packages/InstallableMachines.plist. Go to the last ID and replace it with your own. I have my.plistfile here if you want to reference or even use it. It's been modified for the Xserve 1,1 model. - Next you'll want to open and edit
/System/Library/CoreServices/PlatformSupport.plist. You can reference or use mine, it is pre-edited for the Xserve 1,1 model. You'll want to again put in the board ID as well as the model. - On your flash drive, make a copy of the following file,
/System/Installation/Packages/OSInstall.mpkg. I put mine into~/Downloads/tmp/. Open your copy of theOSInstall.mpkgin the Flat Package Editor. Extract theDistributionfile and open it in your text editor. Locate thevar platformSupportValues=[" ... "];section and add your board ID value here. You can see my edited file here. Save and then replace the original file inside theOSInstall.mpkg. You'll want to delete the original from the.mpkgfile and the insert your edited file. Save theOSInstall.mpkgfile and replace it into the flash drive at/System/Installation/Packages/. - Again, go to the
.dmgyou originally mounted and copy theBaseSystem.dmgandBaseSystem.chunklistand paste them into the root of your flash drive. - Using Pacifist open the following file from the original
.dmgthat was mounted - Packages >> Essentials.pkg. Once this is opened up navigate to /System/Library/Kernels and extract thekernelfile. - Go to your flash key, and navigate to
/System/Library. Create a new directory in here called, Kernels. Take your extractedkernelfile and place it into this new directory. - This step is somewhat optional, but very important if your system has 32-bit EFI. You will need to download a modified
boot.efifile. I used the one here, and it seemed to have no issues. You'll want to copy thisboot.efiinto the following two locations on your flash drive,/System/Library/CoreServices/and/usr/standalone/i386/. - At this point your installer should be all ready to rock and roll. Moment of trust, you'll attach it to your Mac and boot from it. You can hold the
Altkey to get to a list of bootable drives connected to the Mac if it doesnt automatically boot from it. - Hopefully your install has gone without a hitch. Once you've installed and rebooted into OS X Yosemite, I highly recommend installing the PikeYoseFix script. This will allow you to install any OS updates without issue. Normally during an OS update some files will get replaced which can prevent the system from booting.
Resources
Well this is definitely awesome. 
This is a companion discussion topic for the original entry at https://jimmyb.ninja/post/1445568649